What You'll Need
Equipment / Tools
Hacksaw
Square
Tape measure
Level
Pliers
Drill
Set of drill bits
Scissors
Pencil
Hammer
Materials
Storm door (with hinge plate and drip cap)
Caulk
Instructions
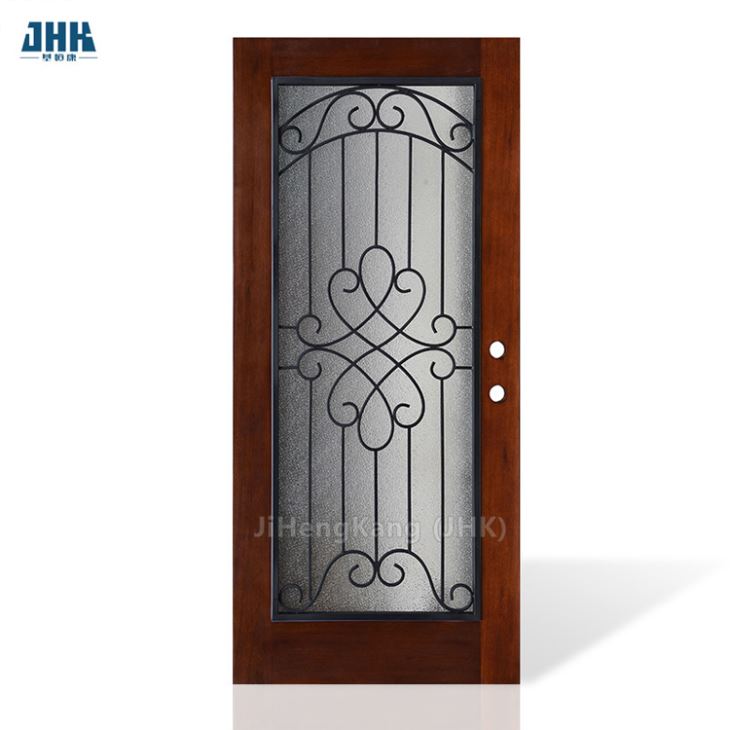
With no complicated shimming required, storm door installation is a less exacting process than slab door or pre-hung door installation. Even though most storm doors are relatively light, weighing in the range of 60 to 80 pounds, an assistant is always helpful for a second hand. If the storm door has a screen and if the glass is removable, take both out now and set them safely aside. This will lighten your load, making installation easier. Both items can easily be put back into place once the door has been installed.
Measure the Door Frame
With a tape measure, find the height and width of your finished door opening. This is the space defined by the inside of your door casing. Most storm doors are reversible, but generally, you should install your door so that its hinges are on the same side as the front door.
Install the Hinge Plate on the Storm Door
The hinge plate, also called a hinge rail, is the long metal section from which the door will hang. With the hacksaw, cut the hinge plate so that it is as long as the vertical inside measurement of your door opening. Attach the hinge plate to the storm door with the included fasteners.
Install the Storm Door in the Door Opening
Place the storm door in the door opening. Attach the hinge plate side of the storm door to the front of the door casing (not inside the casing). It's beneficial to have a helper because that person can hold the door while you screw it in place. Use your level to ensure that the door is plumb (vertical). Even if your door casing is not perfectly plumb, your storm door should be plumb.
Install the Drip Cap
The drip cap, or rail, is a short metal section that goes above the storm door to prevent rain from leaking behind the storm door frame. Run a bead of caulk on the drip cap. Then, using the cordless drill and the provided screws, screw the drip cap into the front of the door casing.
Install the Jamb on the Other Side
The jamb is the vertical section of metal where the storm door latch will engage. Screw this jamb into place with the cordless drill and the provided screws. Make sure that the door opens and closes correctly. Adjust if necessary for a tight fit and smooth swing.
Attach the Door Closers, Handle, and Strike Plate
If your door came with closers, attach them now. Usually, you will install one at the top and another at the bottom of the door. Install the door handle, latch, and strike plate.
Test the Storm Door
Test the door to make sure that it opens and closes, the latches shut, and it does not conflict with the exterior door itself. If needed, re-install any screen or glass that you removed prior to installation.


